Do you dream of having a home wine cellar but don’t know where to start? You’ve come to the right place! In this article, we’ll show you how to create a functional and stylish wine cellar in your home, step by step, without breaking the bank or hiring specialists.
Why Have a Wine Cellar?
A wine cellar is not only a practical space for storing your favorite bottles but also an elegant addition to your interior. It provides the ideal conditions for wine maturation, such as stable temperature, humidity, and absence of light. Moreover, the wine cellar can become a social hub or a relaxing space to enjoy your favorite vintage.
Step 1: Choosing the Location of wine cellar
Before starting construction, decide where your wine cellar will be. The ideal location is a basement, garage, or another room with stable temperatures. If you don’t have a dedicated space, you can designate a corner in your living room or kitchen – just avoid areas exposed to sunlight or with significant temperature fluctuations.
Factors to Consider When Choosing a Location:
- Temperature – Optimal range is 10-15°C (50-59°F).
- Humidity – Should be between 50-70%.
- Lack of Light – Sunlight can damage wine.
Step 2: Preparing the Room
Once you have your chosen location, it’s time to prepare it for wine storage.
What You Need to Do:
- Thermal Insulation:
- If the room’s temperature isn’t stable, invest in additional insulation. Use insulation panels on walls and ceilings.
- Ventilation:
- Proper air circulation prevents mold and maintains optimal humidity. Install a simple ventilation system if necessary.
- Flooring:
- The best options are concrete or ceramic tiles, which are easy to clean and do not absorb moisture.
Step 3: Building Wine Racks
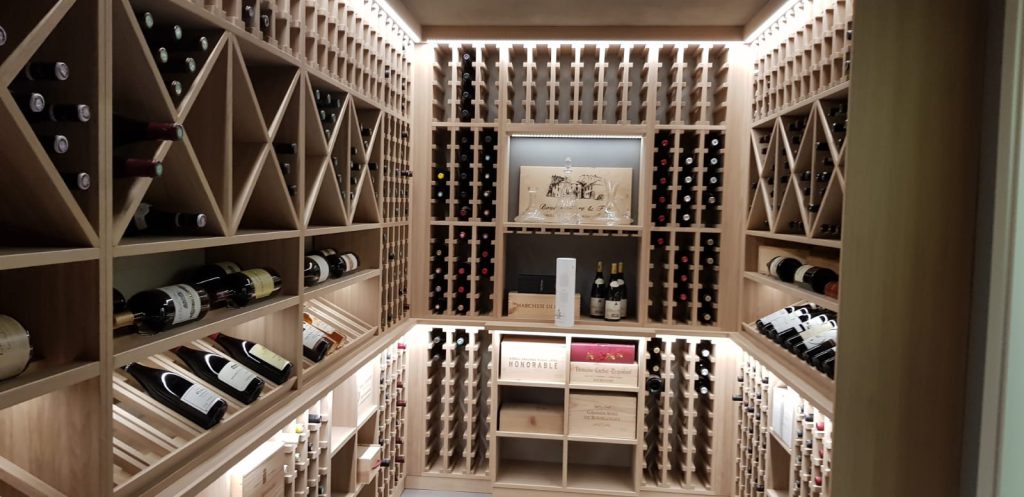
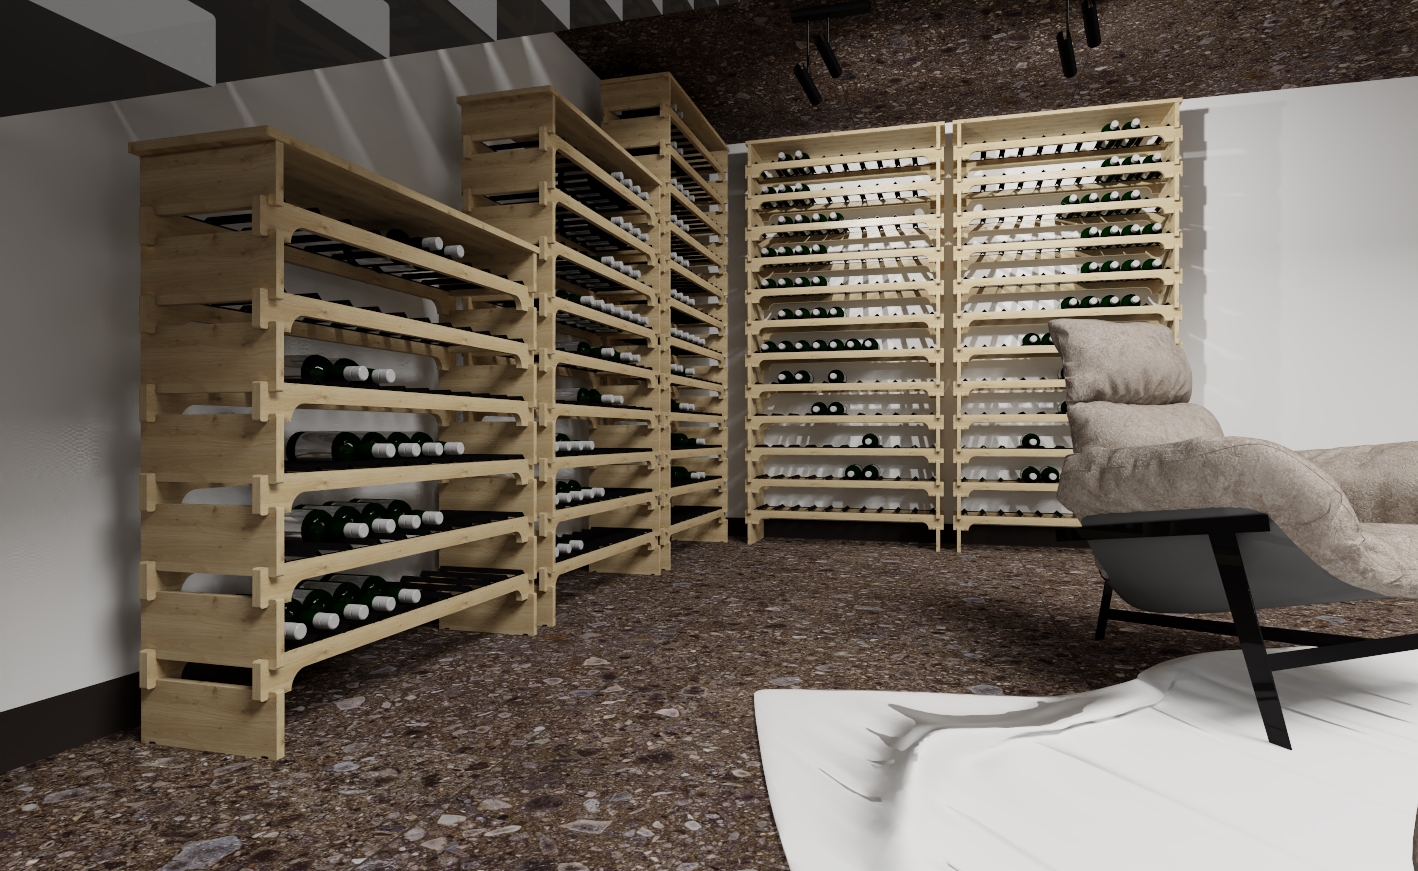
Racks are the heart of any wine cellar. You can build them yourself or purchase ready-made modules.
How to Build a Rack Yourself:
- Materials:
- Wood (e.g., pine, oak) or metal are the best choices. Avoid MDF boards, which can warp with moisture.
- Design:
- Plan the size and number of shelves, taking into account the types of bottles you plan to store.
- Assembly:
- Build a sturdy frame and install shelves spaced to allow convenient bottle storage.
If you like modern designs, consider racks made of metal pipes or custom-made modules.

Step 4: Organizing the Space
Your wine cellar is almost ready! Now it’s time to arrange the space.
- Arranging Wines:
- Group wines by type (white, red, sparkling) or origin. Add labels for easier identification.
- Additional Accessories:
- A tasting table or chairs will make the space more inviting.
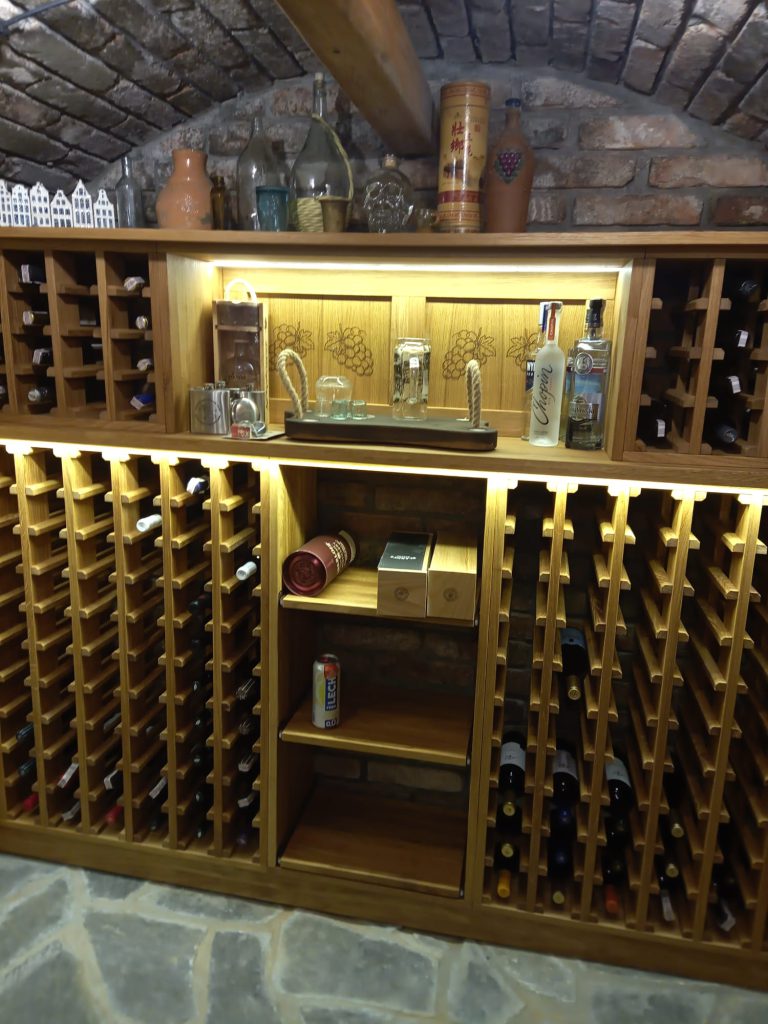
- Install discreet LED lighting to highlight the cellar’s look without overheating the wine.
- Decorations:
- Opt for minimalist decorations, such as wine-themed artwork, wooden crates, or corks in a glass vase.

Step 5: Maintaining the Wine Cellar
Regular upkeep will keep your wines in excellent condition.
- Monitor Temperature and Humidity:
- Install a thermometer and hygrometer to track conditions.
- Cleaning:
- Regularly clean racks and floors to prevent dust and mold.
- Wine Rotation:
- Occasionally check bottles and enjoy older vintages.
Conclusion
A DIY wine cellar is a project that will not only enhance your home but also bring immense satisfaction. With our tips, you’ll build a space that becomes the pride of any wine enthusiast. Now, all that’s left is to open a bottle and enjoy the fruits of your labor!
Find us on social mediach :


